Saturday, September 29, 2012

Halloween craft swap 2012


I am participating in my very first craft swap. It was so much fun.

I was really nervous on what to send. I didn’t want to send too little and I didn’t want to send too much.

The blogger Pink Stitches provided a flicker account so we could share what we were sending but I didn’t want to be influenced either. So I just tried to send what I wanted to receive.

I sent one the skull aprons I made because I think it’s the cutest thing in the world.

I also made her a fall mug hugger like the one I have except I made hers reversible.  


And last but not least is the photo holder with a cute card attached. I will post a tutorial on this soon.


I can’t wait for her to receive it. I will update once I receive mine in the mail.

Happy Fall Ya’ll.

Tuesday, September 25, 2012

What's a Quilting Guild you ask?

About a month ago, I met a wonderful lady that was purchasing a cutting mat from me. While making our transaction, we chatted about fabric, the cutting board and of course quilting. She then, to my surprise, invited me to a quilting meeting that she is part of. I’m not going to lie; I was so excited I couldn’t think of anything else that day. This lady had made my day but unfortunately I had to wait almost an entire month to go.

So fast forward a month and here we are, the forth Tuesday of the month. Yay! I get there and I see the word “guild” on everyone’s name tag. I’m not sure I have heard of that before. It was the Electric City Quilters Guild to be exact.

Noun 1. An organization of persons with related interests, goals, etc., especially one formed for mutual aid or protection.

To say the least, I had so much fun at my first ever quilter’s guild meeting. My favorite part was the show and tell of course. It was so diverse. I guess I imagined just a bunch of the same techniques but all these ladies from the same group have such different techniques. I snapped a few pictures of some of the show and tell.

This Christmas quilt took my breath away. All I can say it that it was amazing.


This is the quilt of the person who invited me (June). This was made of blocks made by several different people in the group.  


This quilt was done on an embroidery machine.


After show and tell we had a quick presentation on Signature Quilts. I have never even heard of those before. It was extremely informative. Basically it is a quilt that has words/names written, printed or embroidered on it.  It was very popular over 100 years ago. This guild is thinking of doing one too. I hope they do because I plan to join this group. Could you even imagine 100 years from now people looking at your quilt with oohs and awes like we do today? Here are some examples of signature quilts. And you can find out more by going to www.quiltindex.org.

This is a wedding signature quilt. This person had all her guests at her wedding sign the blocks and then her mother quilted for her. So sweet.


This is an example of a modern day signature quilt. So beautiful.

 Can’t wait to see what’s in store for the meeting next month.

Wednesday, September 12, 2012

Quarter Ring by Austin


The apple doesn’t fall far from the tree. My son made this ring for his senior project. It is made from a quarter. He worked really hard on it and I am very proud. Total cost of this ring is $0.25. I think he is going to make me one too.


Tuesday, September 11, 2012

Fall Kitchen Sign


Fall is in the air and I love it. This nice weather has really gotten me in the fall spirit. I thought I would kick off fall with the first fall craft of the season. I basically just found a bunch of different tutorials and came up with this.

Today I learned how to print on burlap and now I want to print on everything. It was so easy. Just follow this link to the tutorial that I used. She explained it so well. I found my burlap at Goodwill for $0.75 on Labor Day so I paid $0.35 for it.

I also learned how to make fabric flowers through thistutorial. I don’t think mine came out exactly right but they still look great. I used the left over scrap fabric from my fall quilt, so no cost there.

The brown back ground is also left over fabric glued on a metal board I purchased from Michael’s for $0.25. I also bought the leaves at Michael’s with a coupon for $1.00.

 I have a really cute sign for my kitchen for $1.55.

New Fire Pit


We have always had a fire pit but it has always been one that is portable. And of course after so long the bottom falls out and it gets trashed and then we spend another $100 on another one. Well, my husband has wanted to build on for years now and I finally said let just go for it. If any knows me I jump onto the Pinterest.com and start my search. We got some ideas but nothing really stood out to us. I wanted below ground so that we could sit around it and we also needed to tie it in with our porch. So this is what we came up with.


My dad had a lot of brink left over from building his house. We hit it first. To be honest, we did not have a plan. We just made it up as we went along. And that is how we do most of our projects. First decision was – how big? Answer was as big as the dinning room table. And yes it grew a little.


We made our circle on the grass and started digging.  Well, my husband did, my job was to snap pictures. After we got the hole dug, made it semi-level and lined it with gravel, we started stacking the bricks. We decided on three high was good enough for us.


It’s time to go to Lowes. We bought three 8’ brown metal edging, 16 bags of pebble rock, 21 pavers the size of the brick (any solid brick will do), some adhesive and black plastic.


We placed our metal edging down to where we liked it and hammered it into the ground. Everyone’s design will be different. Then removed the grass from the area between the edging and the pit and sprayed with grass killer.


We also, glued the bricks together and the pavers to the top with the adhesive and let dry for 24 hours.


The next day we laid the black plastic down on the bare ground and filled up the area between the edging and the pit with pebble rock. I picked out three flagstones and laid them in the pebble rock.


This was really simple and looks great and very affordable. Good luck with yours.

Friday, August 31, 2012

It's Fall Ya'll


It is fall time and I wanted nothing more then a fall quilt to snuggle under on my hayrides, bon fires and star gazing this season.


So I sat out to find inspiration…… on Pinterest of course. I searched the internet left and right but really didn’t see anything that made my heart skip a beat. So I settled on some very pretty blue and orange fabric. But it wasn’t screaming – FALL IS HERE to me.

And then, it hit me like a ton of bricks, I remembered one of the first “quilt” pins I pinned way back when and not even on my quilting board was a fall quilt. It was the one I have been searching for all my life. Well at least for the last couple of weeks.

I was really stressed about finding the fabric but as soon as I walked in Hancock, there is was staring me right in the face. And to top it off, after a $5 off $25 coupon, all my fabric including my backing was a whapping $20. Go Amy, Go Amy!!!!


So here is what I bought. ½ yard of orange, yellow, green, brown, red, whitish with brown specks and an off white print with trees and birds. Then I bought 3 yards of red for my backing. I originally wanted the green for the backing but it was $6.99 a yard and the red was $2.99 a yard. You do the math. Sometimes I just let the price make my decision.

First thing I did was cut the first fabric too small. So that automatically set the size. I was going for a complete 8 inch square but forgot to leave the seam allowance on the first one so I cut 8 inch square and ended up with 7 ½ inch square. Not a real big deal.

I cut enough for 7 squares across and 9 squares down. I like to tuck the quilt under my feet so I made it a little longer.
Another new thing I did was used white thread on the top and red in the bobbin. I loved the way that turned out.

And I HAND BINDED MY QUILT. I absolutely love the hand sewn look but that took FOREVER at ¼ inch at a time. Ugh.

I am sooo in love with this quilt. The colors and the puffiness of it makes my heart ache for cold weather to get here.

Saturday, August 18, 2012

Mama's craft room. AKA The Woman Cave.


Over a month ago my oldest son moved out. Although I have been planning on this for a few years it was difficult to say the least. But on a brighter side I now have an extra room and I claimed it for my craft room. So a week after he moved out I threw a Band-Aid on my heart and started remodeling.


Painted the walls and some new carpet (of which I installed girl style).

I pulled up my Pinterest craft room board and got to work.

One thing I knew I was going to do was make a fold up table. I go the idea from this site but of course mine just had to be much much bigger. I will admit it was a little of my head so I did recruit my husband to help hang it on the wall. But the rest was all me (built girl style of course). I wanted something big enough for four people but something that could be put up to make more room. Plus have some storage options cause I have a lot of thread.


I got the lamp at IKEA for $8. It is a clamp on lamp so I can move it if needed. Best deal of the year.  
Hannah Mae drew me this picture. Amazing!!!


Hannah Mae also came over and drew me this owl on my handy dandy chalk board.


I made this by inserting fabric in some of the frames and letters in the others.


My sewing nook.


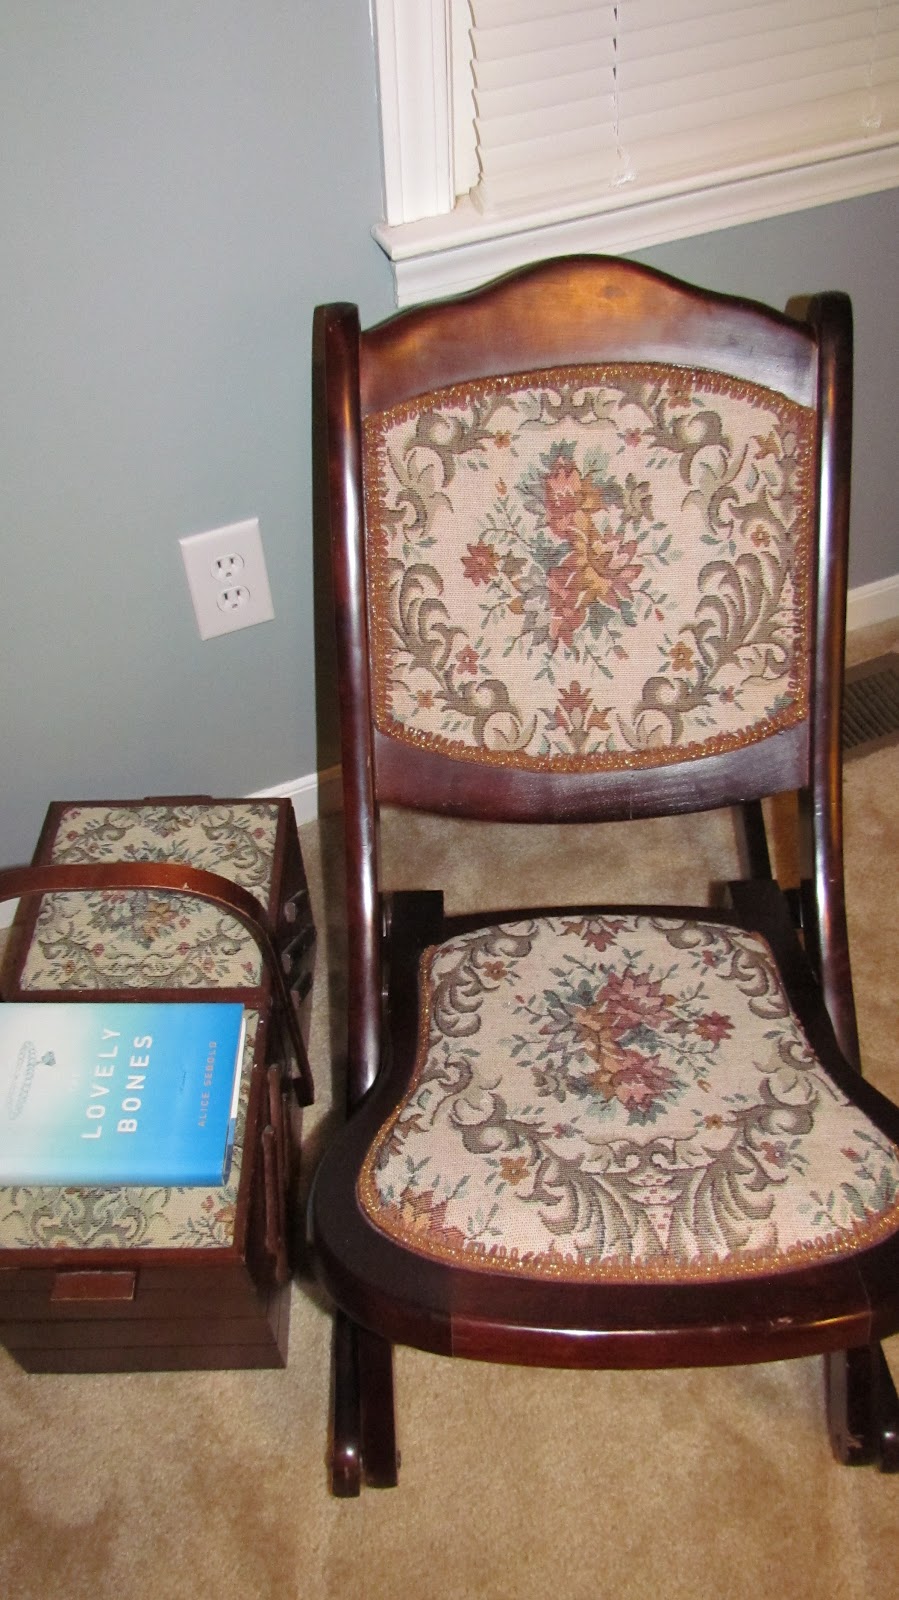
My vintage sewing rocker and sewing box. Vickie got me the rocker for my birthday.


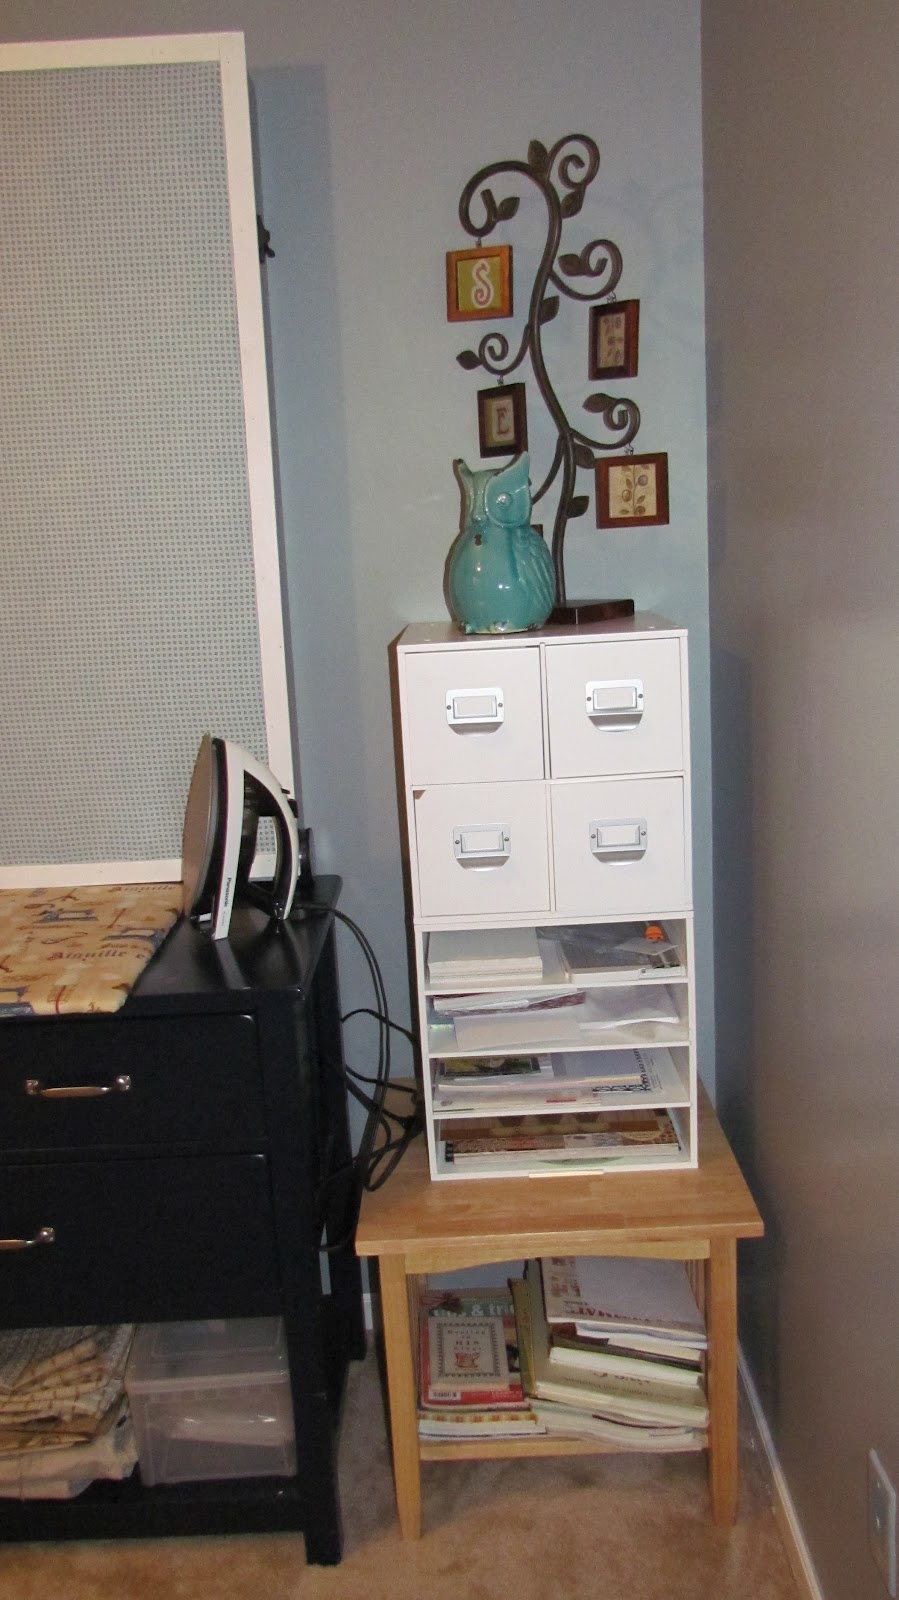
I made me a new ironing table. Love the sewing room fabric.


Of course there are owls everywhere.


I absolutely love my sewing room and it came just in time for Christmas crafts and gifts.